
Hershey’s Chocolate Chip Cookie Recipe – 7 Delicious & Easy Variations to Try
Introduction:
Picture this: You’re standing in your kitchen, the delightful scent of freshly baked cookies filling the air. The golden edges, the smooth melted chocolate chips, and the soft, chewy texture. These are the moments that make baking so rewarding—especially when you’re using the famous Hershey’s chocolate chip cookie recipe. Whether you’re revisiting a childhood favorite or aiming to impress friends and family with your baking prowess, this recipe will guide you to cookie perfection.
This guide is your one-stop resource for everything you need to bake the ultimate chocolate chip cookies using Hershey’s chocolate. From the classic recipe to creative variations and expert troubleshooting tips, this article will ensure you master the art of cookie-making. Let’s get started!
Table of Contents
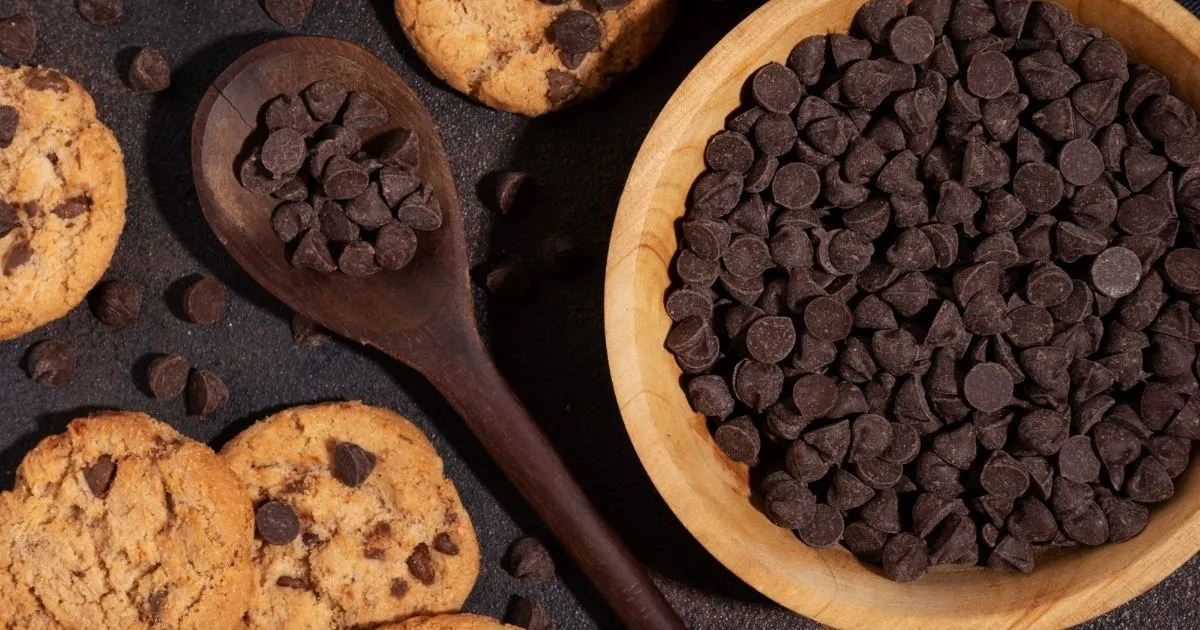
Why Choose Hershey’s Chocolate for Your Cookies?
The quality of your ingredients can significantly influence the outcome of your baked goods. So, why should you opt for Hershey’s chocolate? Let’s explore the reasons:
1. A Flavor Like No Other:
Hershey’s chocolate chips offer the perfect combination of sweetness and richness, creating a smooth, creamy texture that melts perfectly into your cookie dough. With its balanced flavor, Hershey’s chocolate has been a favorite for generations.
2. Premium Quality and Consistency:
As a trusted brand for over 100 years, Hershey’s delivers top-tier chocolate chips that ensure consistent quality. This guarantees that your cookies will have the same perfect taste every time you bake.
3. Versatility for Other Recipes:
While Hershey’s chocolate chips are ideal for making chocolate chip cookies, they also work wonders in other treats like brownies, cakes, or even homemade ice cream. Hershey’s adds the perfect amount of sweetness and richness to any recipe.
Hershey’s Chocolate Chip Cookie Recipe
Now that you know why Hershey’s chocolate is the best choice, it’s time to get baking! Here’s the simple, easy-to-follow Hershey’s chocolate chip cookie recipe that guarantees delicious results every time:
Ingredients Table:
| Ingredients | Amount |
| Hershey’s Milk Chocolate Chips | 2 cups |
| All-purpose flour | 2 1/4 cups |
| Baking soda | 1 tsp |
| Salt | 1/2 tsp |
| Unsalted butter, softened | 1 cup (2 sticks) |
| Granulated sugar | 3/4 cup |
| Brown sugar, packed | 3/4 cup |
| Eggs | 2 large |
| Vanilla extract | 1 tsp |
Step-by-Step Instructions:
- Set your oven to 350°F (175°C) to achieve the ideal baking temperature.
- In a large bowl, mix the flour, baking soda, and salt together.
- Mix the dry ingredients thoroughly.
- In a separate bowl, beat the butter, granulated sugar, and brown sugar together for about 3 minutes until the mixture is smooth and creamy.
- Incorporate the eggs and vanilla extract into the butter-sugar mixture. Beat until well combined.
- Scoop rounded tablespoons of dough onto ungreased baking sheets, making sure to leave enough space for the cookies to spread. Be careful not to overmix.
- Gently fold in the Hershey’s milk chocolate chips until evenly distributed.
- Scoop rounded tablespoons of dough onto ungreased baking sheets, ensuring there’s enough space for the cookies to spread.
- Leave it in the oven for 10 to 14 minutes until it turn golden brown
- After baking, allow the cookies to cool on the baking sheet for 5 minutes before moving them to a wire rack to cool completely.
Tips for Perfect Hershey’s Chocolate Chip Cookie Recipe


Baking is all about precision, but it’s also about experimenting to get the cookies that suit your taste. Here are some tips to help you perfect your Hershey’s chocolate chip cookie recipe:
For Chewy Cookies:
- Chill the dough: Allow the dough to rest in the refrigerator for 30 minutes or overnight. This helps the flavors blend and gives the cookies a chewy texture.
- Use more brown sugar than white sugar. Brown sugar helps retain moisture and keeps the cookies soft.
For Crispier Cookies:
- Reduce the amount of brown sugar and increase the white sugar for a crispier texture.
- Bake a few minutes longer but watch carefully to prevent burning. The cookies should have golden edges.
For Even Baking:
- Rotate your baking sheets halfway through the baking time to ensure uniform cooking.
- If baking multiple batches, quickly rinse the baking sheet between batches to prevent spreading.
Variations on Hershey’s Chocolate Chip Cookie Recipe
Once you’ve mastered the classic recipe, why not try some creative twists? Here are a few creative ideas to personalize your cookies:
1. Add-Ins and Customization:
- Nuts: Mix in a cup of chopped walnuts or pecans for an extra crunch.
- Dried Fruit: Toss in dried cranberries, raisins, or even cherries for a fruity touch.
- Peanut Butter: Swap out some of the butter for peanut butter for a richer, nutty flavor.
- Coconut: Add 1/2 cup of shredded coconut for a tropical twist.
2. Gluten-Free Option:
For those with gluten sensitivities, simply substitute gluten-free all-purpose flour in place of regular flour. Check the flour packaging for specific baking instructions.
3. Vegan Version:
To make the recipe vegan-friendly, swap the butter for a plant-based alternative and replace the eggs with a suitable egg replacer such as flaxseed meal or aquafaba (chickpea water).
Troubleshooting Common Baking Issues
Even experienced bakers can run into challenges. Here’s how to solve some common cookie problems:
Why Do My Cookies Spread Too Much?
If your cookies spread too much, the dough may be too warm. Make sure to chill the dough for at least 30 minutes and ensure your baking sheets are cool before placing the dough on them.
How Can I Make My Cookies Chewy?
To achieve chewier cookies, use more brown sugar and less granulated sugar. Also, avoid overmixing the dough, as this can lead to tougher cookies.
Why Are My Cookies Burnt or Undercooked?
- Burnt: Your oven may be running hotter than the dial suggests. Verify the temperature using an oven thermometer.
- Undercooked: If the center of the cookies is still raw, bake for a few more minutes, but keep an eye on the edges to avoid overbaking.
Frequently Asked Questions (FAQ) About Hershey’s Chocolate Chip Cookies
1. How should I store my Hershey’s chocolate chip cookies?
- Keep your cookies in an airtight container at room temperature, where they will stay fresh for up to a week. To store them for a longer period, freeze them for up to 3 months.
2. Can I freeze the cookie dough?
- Yes! Shape the dough into cookie balls, place them on a baking sheet, and freeze for 2 hours. You can bake the frozen dough balls directly, adding a minute or two to the baking time.
3. Why are my cookies too flat?
- If your cookies turn out too flat, it could be because the dough was too warm or you used too much butter. Chill the dough before baking and measure your ingredients carefully.
4. Can I use dark chocolate instead of milk chocolate?
- Absolutely! Dark chocolate chips will give your cookies a more intense chocolate flavor, so feel free to swap them in if you prefer.
Conclusion:
There’s no denying that Hershey’s chocolate chip cookies are a timeless favorite. Whether you’re baking for a special occasion or just treating yourself, this recipe guarantees delicious results every time. With the right ingredients, expert tips, and a few fun variations, you’ll be baking perfect cookies in no time. So grab your Hershey’s chocolate chips, preheat your oven, and let’s start baking!
Ready to bake? Don’t forget to try different variations of the recipe and share your results with family and friends. Happy baking!
Call to Action: Tried the recipe? Share your Hershey’s chocolate chip cookie recipe creations in the comments or tag us on social media! We can’t wait to see how they turned out.