
7-Step Ultimate Guide to Canning Venison | How to Can Venison in a Pressure Cooker
Preserving food has been an essential skill for centuries, especially for those who rely on their own harvest to feed their families. If you’ve recently gone hunting and have brought home venison, or perhaps you’ve bought it from a local butcher, canning is one of the best ways to store this rich, flavorful meat. Not only will you prolong the shelf life of your venison, but you’ll also be able to enjoy its hearty, savory taste all year long.
Canning venison at home is both a practical and rewarding experience. Whether you’re a seasoned hunter or a first-time canner, this comprehensive, step-by-step guide will take you through the entire process of canning venison, ensuring that your wild game is preserved safely and deliciously. Ready to get started? Let’s explore the fascinating world of home canning.
Table of Contents
Why Canning Venison is a Tradition Worth Preserving
Canning venison goes beyond just food preservation; it connects you to a tradition passed down through generations. For many, canning is a way of life, an act of self-reliance, and a link to a time when families had to store food for the long winter months. As a hunter or someone who appreciates sustainable living, canning your venison means you get to savor the fruits of your hard work all year long, without worrying about spoilage or freezer burn.
Not to mention, canning venison is a practical choice for those who may not have the freezer space or who prefer not to rely on refrigeration for long-term meat storage. The result? Beautifully preserved venison that you can incorporate into countless dishes, from hearty stews to chili, and everything in between.
Essential Equipment for Canning Venison
Before you start canning your venison, it’s crucial to have the right equipment on hand. Below are the must-have tools and supplies to ensure the process goes smoothly.
1. Pressure Canner: Your Best Friend
The most important piece of equipment for canning venison is a pressure canner. Unlike water bath canning, which is used for high-acid foods like fruits and jams, pressure canning is necessary for low-acid foods like meat, including venison. This is because the high heat created in the pressure canner kills harmful bacteria and ensures the meat remains safe to eat.
- Tip: Make sure the pressure canner is large enough to hold multiple jars at once. This will help streamline the process.
- Look for: A canner with an accurate pressure gauge and safety release valve. This ensures that the proper pressure is maintained throughout the canning process.
2. Canning Jars and Lids
For venison, quart-sized jars are typically the most suitable for canning, although pint-sized jars can also be used if you prefer smaller portions. Always use jars that are specifically labeled as “canning jars” to ensure they’re strong enough to withstand the high heat.
- Lids: Use new lids each time you can to ensure a proper seal. Reusing old lids can result in spoilage.
3. Other Tools You’ll Need
In addition to the pressure canner, here are some helpful tools:
- Jar lifter: Essential for removing hot jars from the canner without burning yourself.
- Canning funnel: This helps you fill jars without spilling any liquid or meat outside of the jar.
- Clean cloths: Used to wipe the rims of the jars to ensure a tight seal.
Preparing Venison for Canning
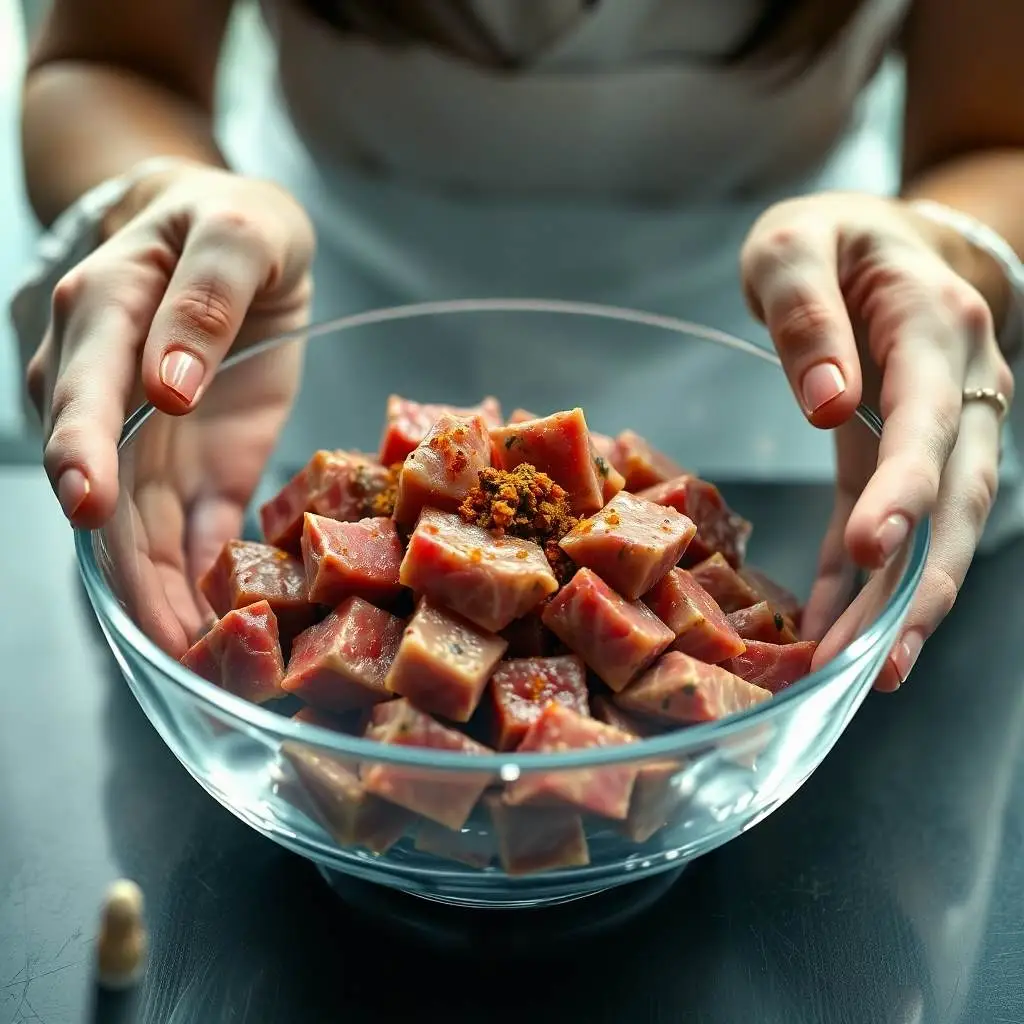
Now that you have all the tools ready, it’s time to prepare the venison for canning. The key is to choose the right cuts of venison and ensure that your meat is cut and prepared properly.
Selecting the Right Cut of Venison
The best cuts of venison for canning are typically the tougher, more muscular cuts that benefit from long cooking times. These include:
- Shoulder
- Stew meat
- Roasts
You can also use ground venison, but larger cuts are ideal for the canning process.
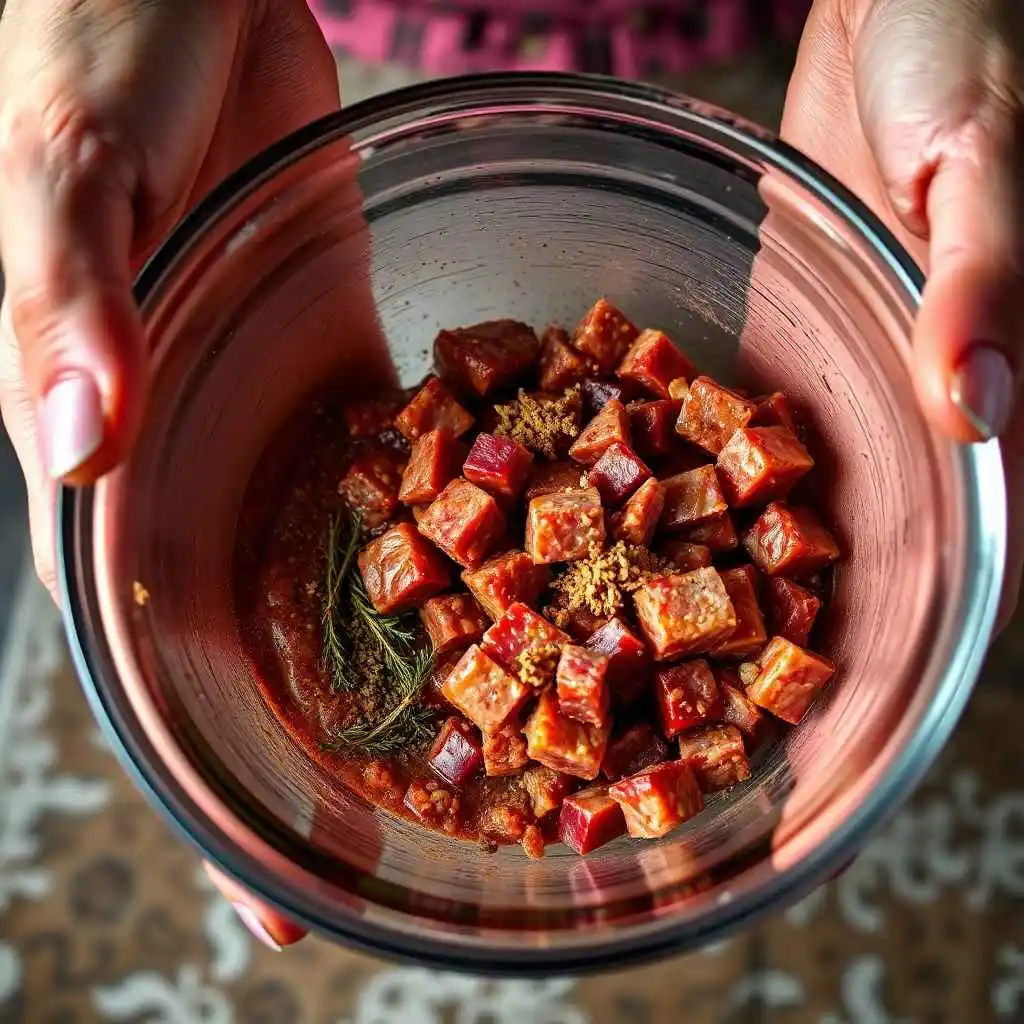
Prepping the Venison
Before canning, you’ll need to trim the venison to remove any excess fat, sinew, or silver skin. While a little fat is fine, too much can cause the meat to spoil more quickly and create an unpleasant texture.
- Cutting the Venison: You can cut the venison into chunks, strips, or cubes based on your personal preference or the dishes you plan to prepare with it.
- Raw Pack vs. Hot Pack: You have two options when it comes to packing the jars:
- Raw Pack: The raw venison is placed directly into the jar without being cooked. This method is faster but can result in less tender meat.
- Hot Pack: The venison is briefly cooked (browned or simmered) before being packed into jars.This technique improves both the flavor and texture.
Step-by-Step Process to Can Venison at Home
Once your venison is prepared, follow these detailed steps to can it properly.
Step 1: Sterilize Your Jars and Lids
Before you begin packing your venison, make sure your canning jars and lids are sterile. This helps prevent bacteria and ensures a safe final product.
- Sterilizing Jars: Place the jars in a large pot of boiling water for about 10 minutes. Alternatively, you can use a dishwasher on a high-heat cycle to sterilize your jars.
- Sterilizing Lids: Do not boil the lids, as this can compromise the sealing compound. Instead, simmer the lids in hot water (around 180°F) for a few minutes.
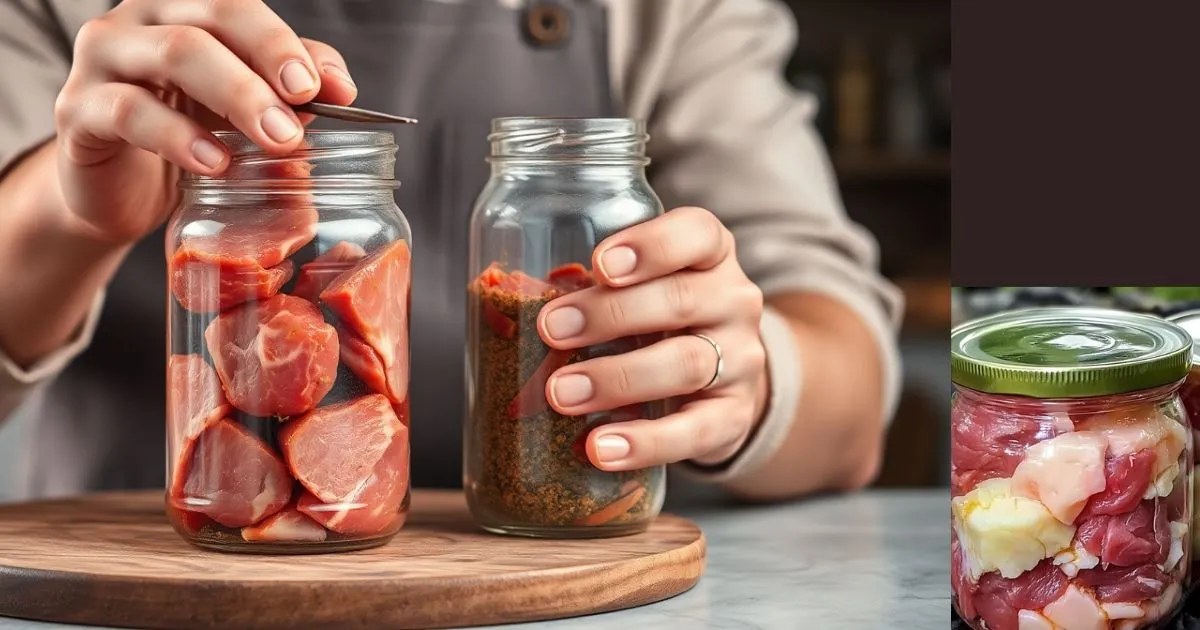
Step 2: Pack Your Jars with Venison
Once the jars are sterilized, it’s time to pack the venison. Whether you’re raw packing or hot packing, make sure to leave about 1 inch of headspace at the top of each jar.
- Adding Liquid: Some people prefer to add a small amount of broth or water to the jars for added moisture. While you don’t necessarily need to add liquid when raw packing, it’s essential for hot packing to keep the meat from drying out during the canning process.
Step 3: Seal and Process the Jars
Once the jars are packed, it’s time to seal them and begin the canning venison process.
- Sealing the Jars: Wipe the rims of the jars with a clean cloth to remove any excess liquid or meat.
- Put the lids on the jars and tighten the rings by hand until they are snug.
- Processing in the Pressure Canner: Place the sealed jars into your pressure canner. Follow the manufacturer’s instructions for processing times, but generally, quarts of venison should be processed for 90 minutes at a pressure of 10-15 psi, depending on your altitude.
- Tip: Ensure the pressure canner maintains a steady pressure throughout the process. This step is crucial for food safety.
Venison Canning Recipes
To make the most of your canned venison, here are a couple of simple yet delicious recipes that showcase the versatility of this preserved meat.
Venison Stew Recipe
Ingredients:
- 2 lbs venison (cut into chunks)
- 4 carrots (peeled and chopped)
- 4 potatoes (peeled and diced)
- 1 large onion (chopped)
- 4 cups beef broth
- Salt and pepper to taste
Instructions:
- Pack venison, carrots, potatoes, and onion into sterilized jars.
- Pour beef broth into each jar, leaving 1-inch headspace.
- Seal jars and process in a pressure canner for 90 minutes at 10-15 psi.
Venison Chili Recipe
Ingredients:
- 2 lbs ground venison
- 2 cans diced tomatoes
- 2 cans beans (kidney or pinto)
- 1 onion (chopped)
- 1 packet chili seasoning
Instructions:
- Brown the ground venison with the chopped onion.
- Add diced tomatoes, beans, and chili seasoning.
- Fill sterilized jars with the chili mixture, leaving 1-inch headspace.
- Seal jars and process in a pressure canner for 75 minutes.
Table: Recipe Ingredients for Canning Venison
| Recipe Name | Ingredients |
| Venison Stew | Venison chunks, carrots, potatoes, onion, beef broth, salt, and pepper |
| Venison Chili | Ground venison, tomatoes, beans, onion, chili seasoning |
Storing and Using Canned Venison
Once your venison is safely canned, it’s essential to store it correctly to maintain its quality.
How to Store Canned Venison
Store your canned venison in a cool, dark, and dry place—your pantry is ideal. Keep jars upright and ensure they are not exposed to extreme heat or moisture.
- Tip: Properly canned venison can last for up to 1-2 years. Always check for signs of spoilage before consuming.
Using Canned Venison
Canned venison is incredibly versatile and can be used in a variety of recipes. Here are some ideas:
- Venison Stew: Add canned venison to a pot of vegetables and broth for a hearty stew.
- Tacos: Warm up the venison and serve it in tortillas with your favorite toppings.
- Sandwiches: Use canned venison for a quick and satisfying sandwich.
Troubleshooting Common Canning venison Problems
Even seasoned canners encounter issues from time to time. Here are some typical issues along with their solutions.
What to Do if Jars Don’t Seal Properly
If your jars don’t seal, try reprocessing them, ensuring the rim is clean and the lid is not damaged. If the problem persists, you may need to refrigerate the unsealed jars and consume them sooner.
How to Tell if Your Venison Is Spoiled
If you notice any bulging lids, foul odors, or mold inside the jars, discard the venison immediately.
Dealing with Cloudy Liquid or Fat Layer
A cloudy liquid or a fat layer at the top of the jar is usually harmless and doesn’t affect the safety of the venison. Simply remove the fat layer before consuming.
Frequently Asked Questions (FAQ) About Canning Venison
1. Can I can venison without a pressure canner?
No, a pressure canner is necessary to ensure that venison is canned safely. This is especially true for low-acid foods like meat.
2. How long can I store canned venison?
If stored correctly in a cool, dark, and dry place, canned venison can last up to 1-2 years.
3. Do I need to add liquid when canning venison?
While it’s not required for raw packing, adding a small amount of broth or water when hot packing will help maintain moisture and enhance flavor.
4. Can I can venison with bones in?
Yes, but removing bones is recommended as they can interfere with the canning venison process and lead to uneven heating.
Conclusion: Enjoy Your Preserved Venison All Year Long
Canning venison at home is not only a practical way to preserve your hunt but also a rewarding tradition that allows you to enjoy the flavors of nature long after the season is over. By following this step-by-step guide, you’ll ensure that your venison remains safe, delicious, and ready for any meal. Don’t let your harvest go to waste—preserve it, and you’ll be able to enjoy your wild game all year long!
Ready to get canning? Grab your pressure canner, your venison, and let’s get started!